You see a working prototype on the table and think: the product is nearly ready. That is an understandable reaction. You can hold something, the sensor is reporting readings and perhaps information already appears in an app. Yet there is usually a great deal left to do before you can reliably manufacture and deliver that same product.
During a hardware project, we answer a series of different questions. Is the idea technically feasible? Does the design work as a complete system? Does the product meet its requirements? Can we reproduce that quality consistently? These questions explain the purpose of each stage.
Understanding the distinction helps you, as an entrepreneur, see what you are paying for and what you have actually demonstrated at the end of each stage.

Agree your own deliverables and exit criteria; stages can require another iteration.
Turning an idea into specific requirements
At the start, we need to establish what the product does and where it will be used. A sensor in an office faces a different environment from a tracker on an outdoor machine. A wristband that can be charged every evening has different starting conditions from a device that needs to run on a battery for years.
We therefore document the main requirements and assumptions. We also identify the uncertainties that could make or break the project. If the sensing principle does not work in the intended situation, there is little point in designing a perfect enclosure first.
A proof of concept to test the key assumption
A proof of concept can look quite rough. Separate development boards, cables and a large 3D-printed enclosure can be perfectly useful when you want to investigate whether the chosen technology is suitable.
Take an imaginary wearable. Its first version might look like an oversized watch. You can already use it to investigate whether you are measuring the right data and whether an algorithm can distinguish between relevant movements. You do not need the final form factor to answer that particular question.
You do need to be honest about what the test proves. A measurement made with a large antenna and a generous battery does not establish that the same performance is achievable in a small finished product. That remains a separate design challenge. By the end of this stage, you want to know which assumptions have been confirmed and which remain open.
EVT to validate the engineering design
EVT stands for Engineering Validation Test. At this stage, we investigate whether the engineering design works as a whole. The electronics, firmware, power supply and mechanical construction need to work together to meet the main functional requirements.
This often takes several iterations. An initial design provides measurement data that helps us justify changes. Each iteration should have a clear purpose, such as investigating power consumption or resolving a communication issue.
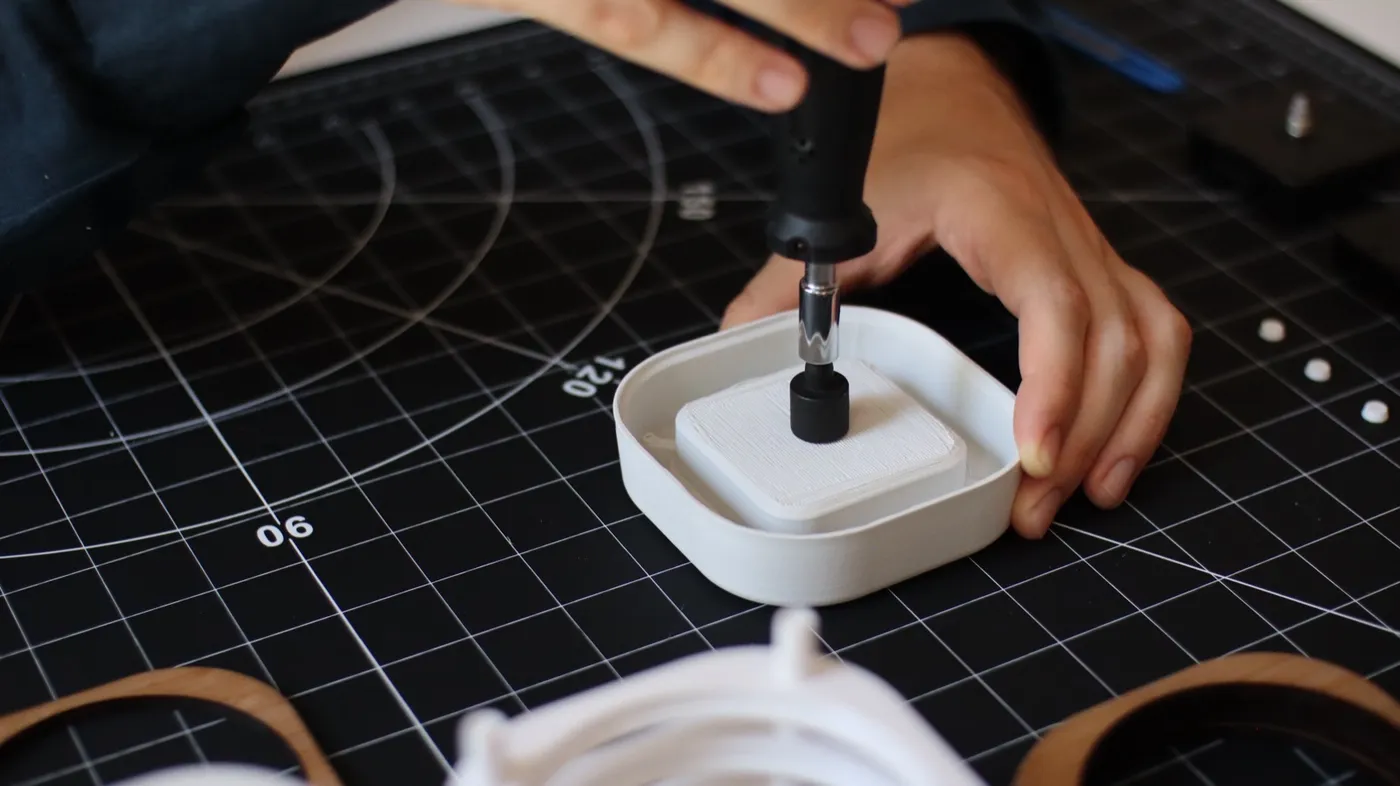
A prototype enclosure answers different questions from a production-intent build.
DVT to validate the product design
DVT stands for Design Validation Test. We now test the detailed design against the agreed product requirements. The build must be sufficiently representative of what you intend to sell, including the relevant materials and manufacturing methods.
Appearance is part of this. Performance, reliability and behaviour under the intended operating conditions are equally important. A product that looks finished can still fail a drop test or struggle with temperature changes. Test results therefore determine whether the design is ready for the next step.
PVT to validate the production process
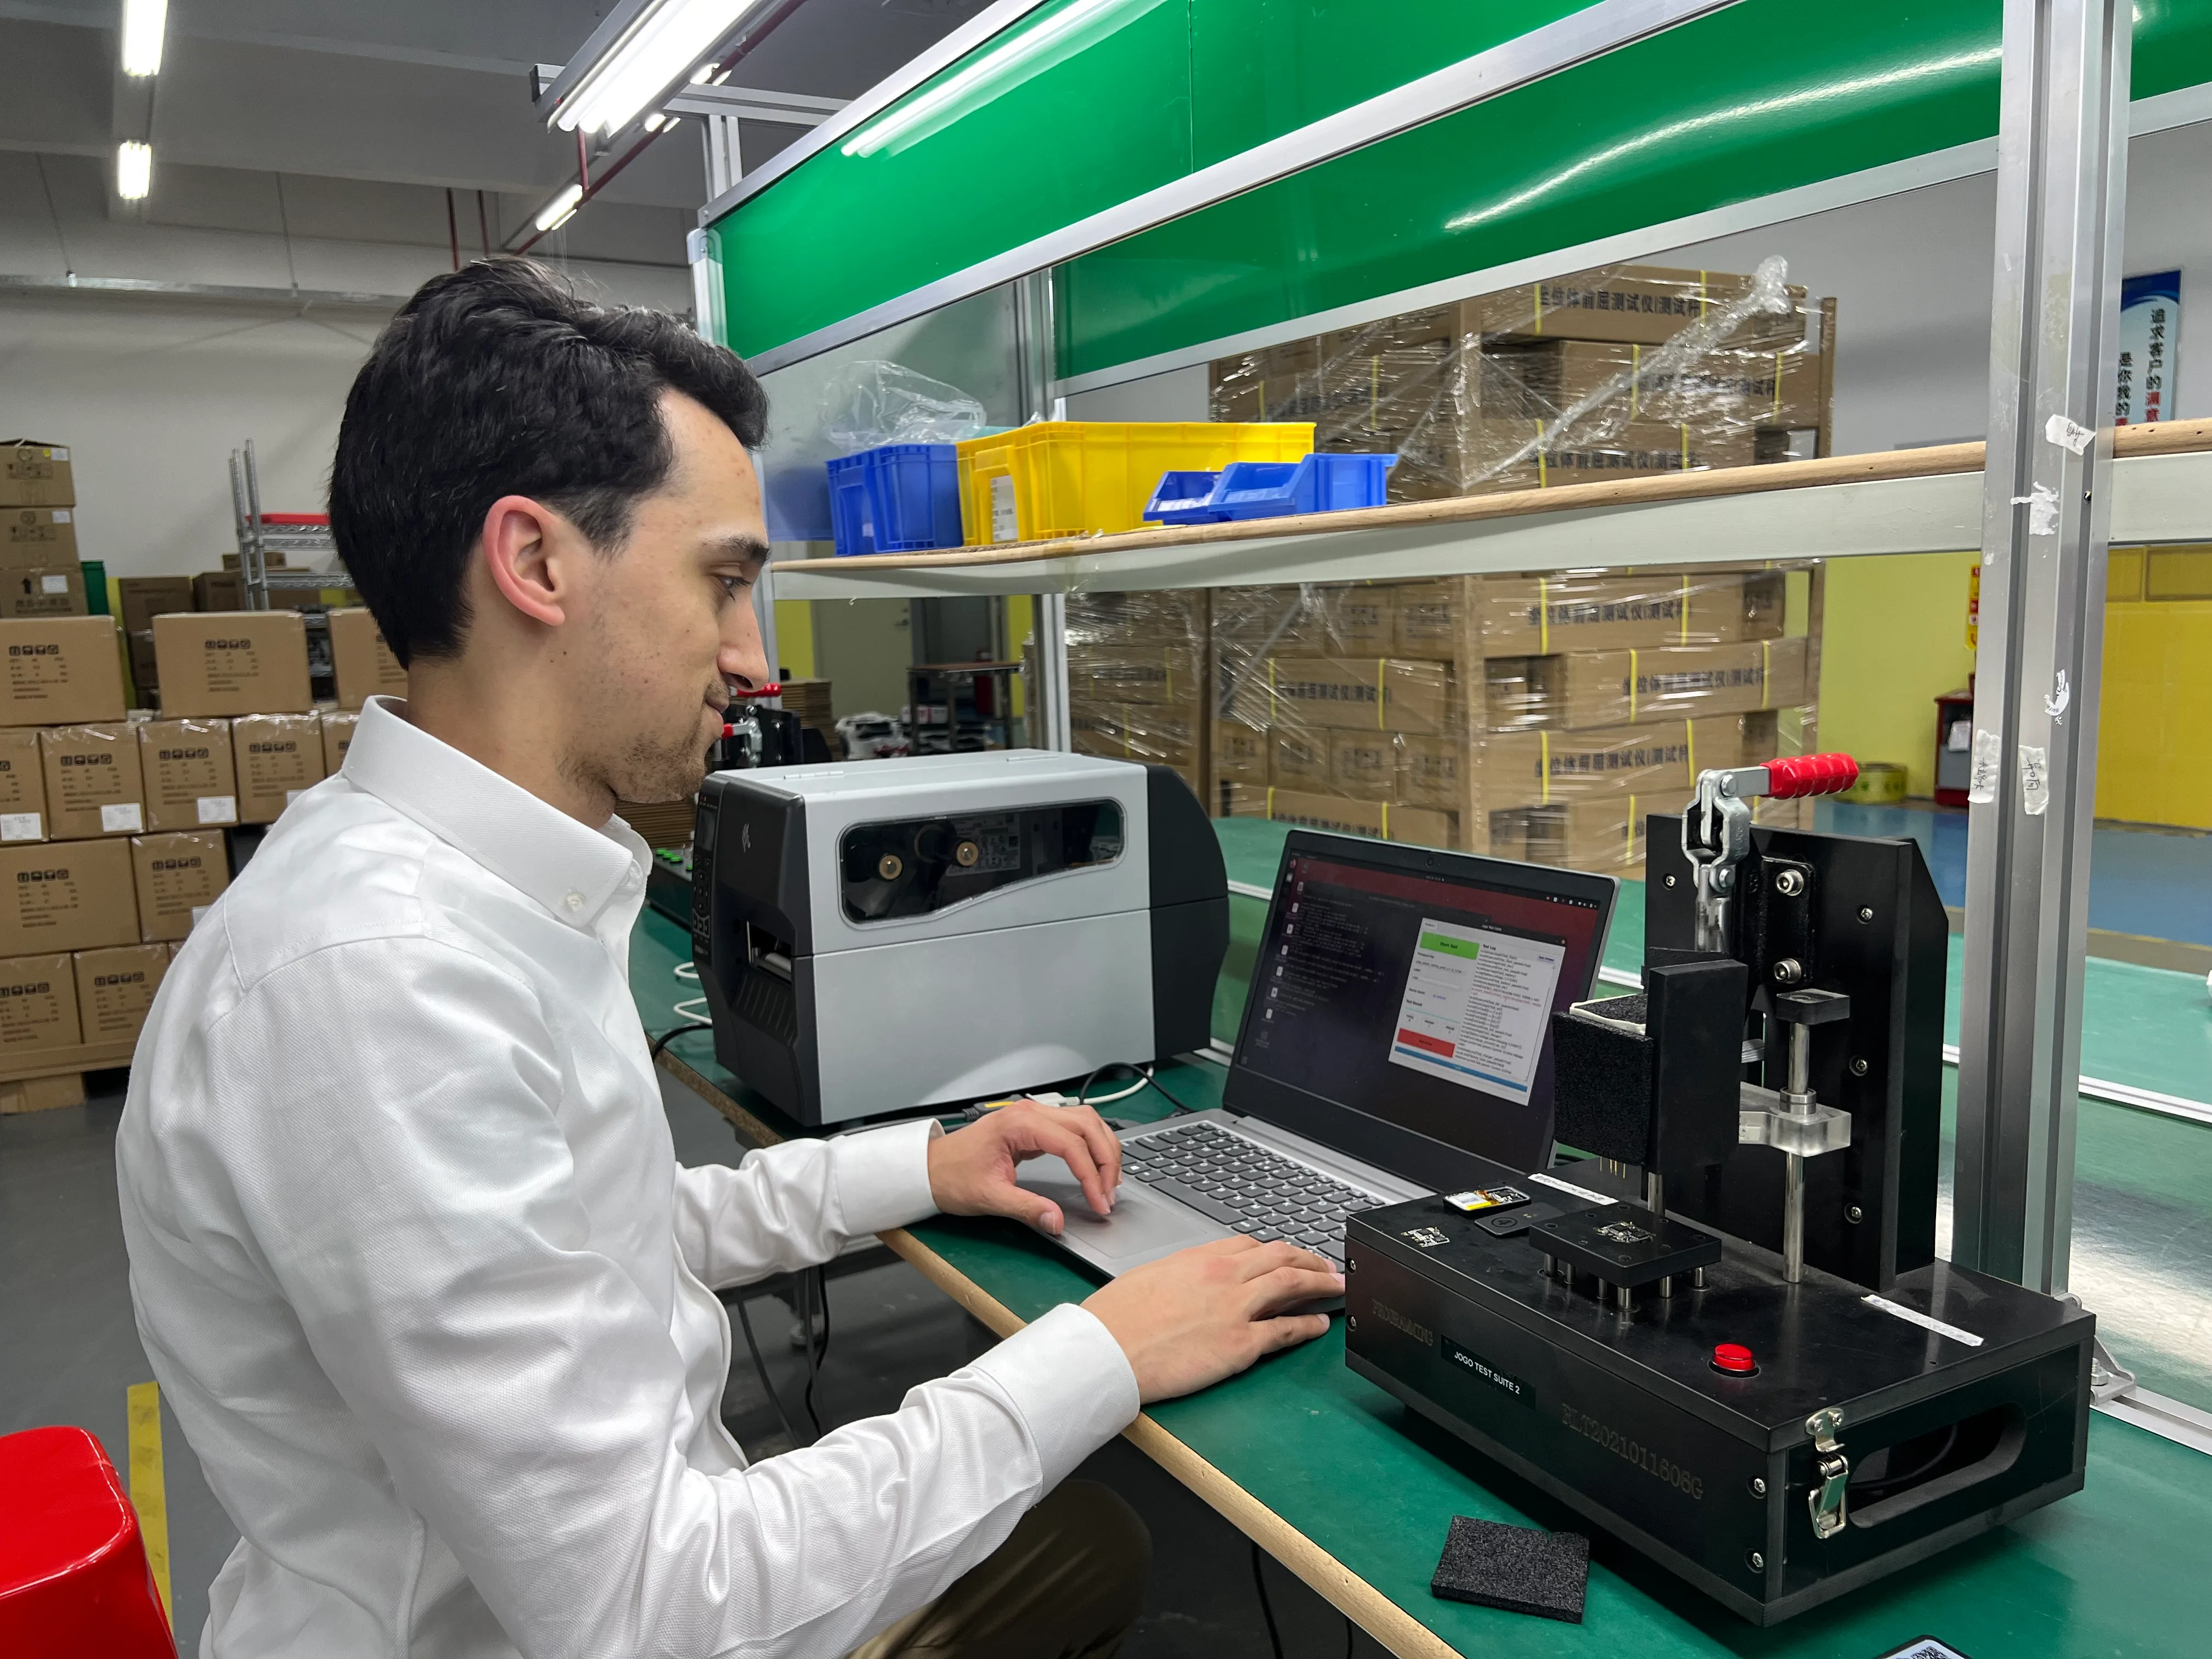
PVT stands for Production Validation Test. The focus here is whether the production process consistently delivers good products. We assess assembly, test stations, work instructions and deviations found during pilot production, among other things.
An approved reference unit, often called a golden sample, can help. It provides a point of comparison for the agreed build. The quality of an entire production run also needs to be demonstrated through the process and the controls you have put in place.
What changes from one stage to the next
For an entrepreneur, the differences are easier to understand when you see the intermediate builds side by side. The first setup demonstrates a function. A later version brings the components together. This is followed by a design that closely resembles the finished product, and then a batch made using the intended production process.
Our imaginary wearable might begin as a large box on a wrist strap. Later, the loose cables disappear and the electronics gain a suitable enclosure. In the final stages, you also look at repeatable assembly, sealing and checking each unit. The outside changes less and less, while plenty of work continues behind the scenes.
The precise boundaries between stages vary by company and product. Always agree on what a stage will deliver, which tests it includes and what results are sufficient to move forward.
Why a schedule needs room
For the projects we discuss, six to twelve months is a useful initial estimate, with some extending to eighteen months. A schedule needs to reflect the specific uncertainties and the dependencies outside the development team.
Production moulds, for example, take time and are harder to modify later. You want to prepare them early enough while avoiding committing to a design that is still changing. Component availability, test fixtures and certification can also affect the schedule. Investigate the applicable requirements early and plan relevant checks during development to minimise surprises during the formal assessment.
At each progress meeting, discuss which risks have been reduced. This keeps the purpose of the next iteration clear. Step by step, you build evidence that the product can function, meet its requirements and be manufactured with predictable quality.
Discuss your next step
See how we support electronics manufacturing, or read our practical guide to functional testing on the production line.
In this hardware development series
- Hardware development costs: what should you budget?
- How to test a hardware idea before investing heavily
- Hardware design: size, battery life, performance and cost
- From working prototype to production-ready product
'%3e%3cpath%20d='M0.512578%2012.7977C0.512016%2014.8142%201.04302%2016.7831%202.0527%2018.5185L0.416016%2024.448L6.53152%2022.857C8.22299%2023.7706%2010.1181%2024.2494%2012.044%2024.2495H12.0491C18.4067%2024.2495%2023.582%2019.1162%2023.5847%2012.8067C23.586%209.74933%2022.3871%206.87435%2020.2089%204.71138C18.0311%202.54858%2015.1347%201.35686%2012.0486%201.35547C5.6902%201.35547%200.515297%206.48849%200.512672%2012.7977'%20fill='url(%23paint0_linear_1455_10349)'/%3e%3cpath%20d='M0.100313%2012.7941C0.0996563%2014.8831%200.649687%2016.9224%201.69537%2018.72L0%2024.8621L6.33478%2023.214C8.08022%2024.1582%2010.0454%2024.6561%2012.0451%2024.6568H12.0502C18.636%2024.6568%2023.9972%2019.3389%2024%2012.8035C24.0011%209.63629%2022.7591%206.65796%2020.5031%204.4175C18.2468%202.17731%2015.2468%200.942709%2012.0502%200.941406C5.46337%200.941406%200.102938%206.25862%200.100313%2012.7941ZM3.87291%2018.4104L3.63637%2018.0379C2.64206%2016.4691%202.11725%2014.6563%202.118%2012.7948C2.12006%207.36271%206.57544%202.94327%2012.054%202.94327C14.7071%202.94438%2017.2005%203.97062%2019.0759%205.83257C20.9512%207.69471%2021.9831%2010.1701%2021.9824%2012.8028C21.98%2018.2349%2017.5245%2022.6549%2012.0502%2022.6549H12.0463C10.2638%2022.654%208.51569%2022.179%206.99113%2021.2814L6.62831%2021.0679L2.86912%2022.0459L3.87291%2018.4104Z'%20fill='url(%23paint1_linear_1455_10349)'/%3e%3cpath%20d='M9.06383%207.83911C8.84014%207.34581%208.60473%207.33586%208.39202%207.32721C8.21783%207.31976%208.0187%207.32032%207.81977%207.32032C7.62064%207.32032%207.29711%207.39465%207.02364%207.69093C6.74989%207.98748%205.97852%208.70414%205.97852%2010.1617C5.97852%2011.6193%207.04848%2013.028%207.19764%2013.2259C7.34698%2013.4234%209.26323%2016.5103%2012.2981%2017.6978C14.8204%2018.6847%2015.3336%2018.4884%2015.881%2018.4389C16.4285%2018.3896%2017.6477%2017.7225%2017.8964%2017.0306C18.1453%2016.3389%2018.1453%2015.746%2018.0707%2015.6221C17.996%2015.4986%2017.7969%2015.4245%2017.4983%2015.2764C17.1997%2015.1283%2015.7317%2014.4115%2015.458%2014.3126C15.1843%2014.2138%2014.9853%2014.1645%2014.7861%2014.4612C14.587%2014.7573%2014.0152%2015.4245%2013.841%2015.6221C13.6669%2015.8201%2013.4926%2015.8448%2013.1941%2015.6966C12.8953%2015.5479%2011.9337%2015.2355%2010.7929%2014.2263C9.90523%2013.441%209.30598%2012.4712%209.1318%2012.1746C8.95761%2011.8784%209.11314%2011.7178%209.26286%2011.5702C9.39702%2011.4374%209.56155%2011.2242%209.71098%2011.0513C9.85986%2010.8783%209.90955%2010.7548%2010.0091%2010.5573C10.1088%2010.3595%2010.0589%2010.1865%209.98436%2010.0383C9.90955%209.89009%209.32933%208.42488%209.06383%207.83911Z'%20fill='white'/%3e%3c/g%3e%3cdefs%3e%3clinearGradient%20id='paint0_linear_1455_10349'%20x1='1158.85'%20y1='2310.61'%20x2='1158.85'%20y2='1.35547'%20gradientUnits='userSpaceOnUse'%3e%3cstop%20stop-color='%231FAF38'/%3e%3cstop%20offset='1'%20stop-color='%2360D669'/%3e%3c/linearGradient%3e%3clinearGradient%20id='paint1_linear_1455_10349'%20x1='1200'%20y1='2393.01'%20x2='1200'%20y2='0.941406'%20gradientUnits='userSpaceOnUse'%3e%3cstop%20stop-color='%23F9F9F9'/%3e%3cstop%20offset='1'%20stop-color='white'/%3e%3c/linearGradient%3e%3cclipPath%20id='clip0_1455_10349'%3e%3crect%20width='24'%20height='24'%20fill='white'%20transform='translate(0%200.941406)'/%3e%3c/clipPath%3e%3c/defs%3e%3c/svg%3e)