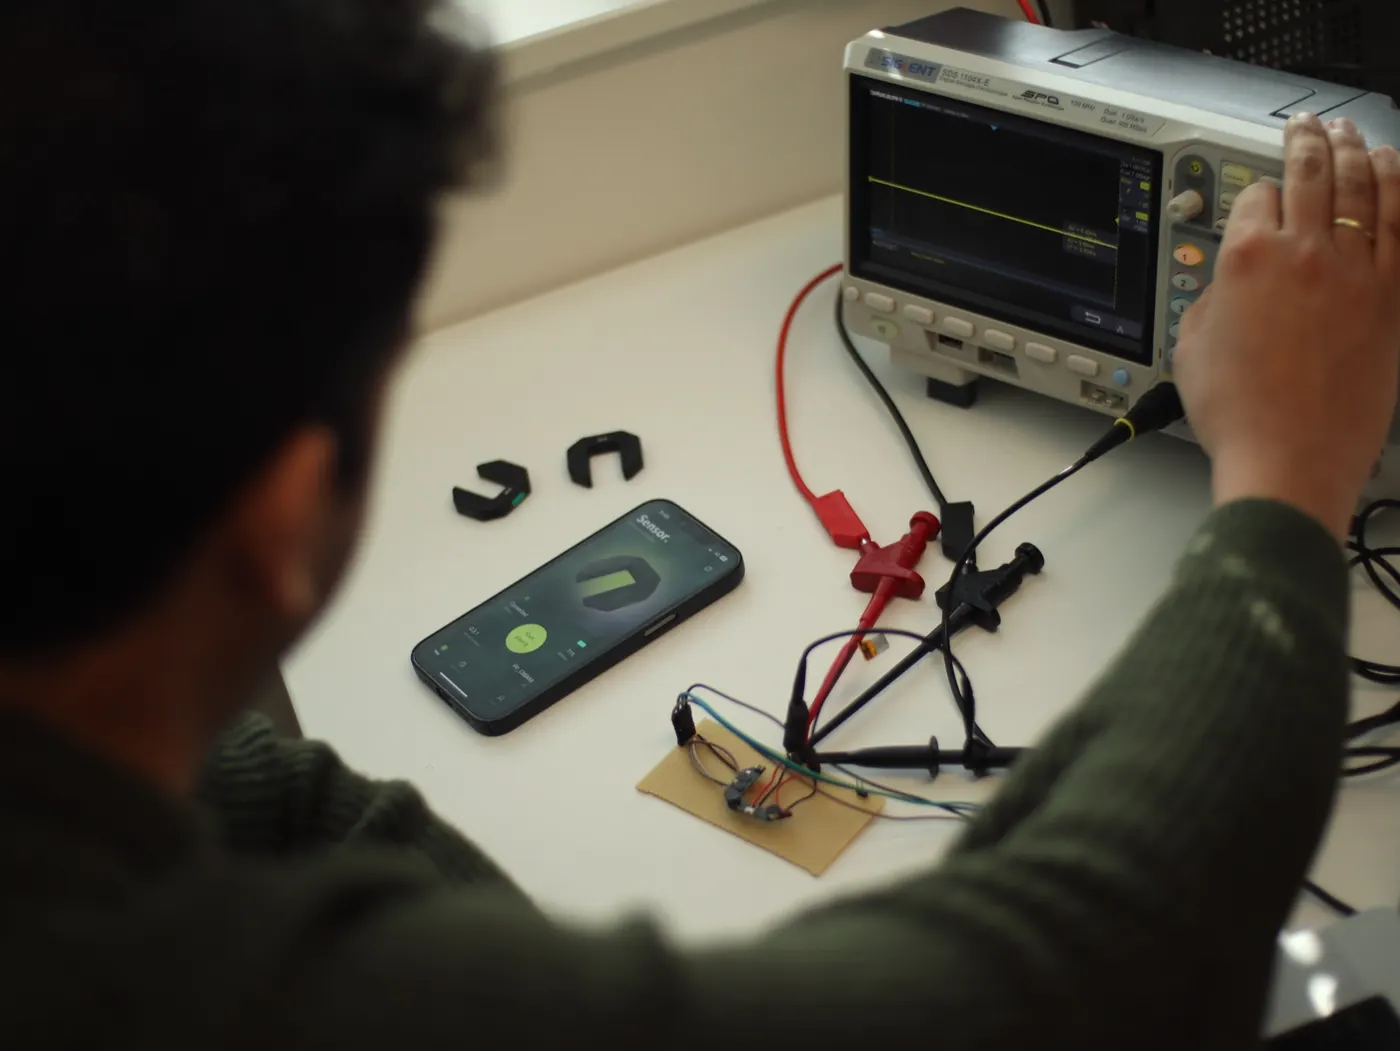
Your sensor works on a development board and you want a smaller device for field tests. That is a useful moment to consider a custom PCB. First, write down what the prototype has already proved and what the new board must establish.
A custom board can bring the circuit, connectors and mounting points into the intended shape. It also introduces fabrication and assembly lead times. At Insyght we choose that step around the experiment the customer needs to run.
Identify the reason to move
A breadboard or module setup is useful while the circuit changes frequently. An enclosed trial device may need fixed connectors and a repeatable assembly. A battery-powered device may need measurements that a development board's extra circuitry makes difficult to interpret.
Specify the constraint: board size, a particular connector, a sensor signal, repeatability or power. That tells the engineer what to preserve and what to redesign. If the sensing approach itself is still uncertain, a focused experiment can answer that question before a full layout.
Record the working setup
Save the schematic, component part numbers and firmware version. Document wiring and any configuration that was necessary to make it work. Include measurements with their conditions: supply voltage, sensor input, operating mode and connected equipment.
Write down the failures too. A lost connection, unexplained reset or unstable reading is important input for the next design. Otherwise the engineer may faithfully reproduce a circuit whose limits were never made explicit.
Freeze interfaces before layout
Agree the board outline, mounting holes, connector locations and the relationship to the enclosure. Define which signals cross between the PCB and other parts of the product. Check the power source and the way the board will be programmed and tested.
This is also the point to decide what belongs on the board. A proven radio module and a discrete radio design have different engineering and verification needs. The right choice depends on the product constraints and planned volume; a smaller component price alone does not settle it.
Plan how the first board will be checked
Turn the requirements into a short acceptance plan before ordering. Include supply checks, programming, sensor or actuator functions and relevant interfaces. For a battery device, identify which operating and sleep modes must be measured.
Allow time for assembly, initial debugging and a possible revision. Record what passed, what changed and which questions remain. That record makes the next decision much clearer than a demonstration that happened to work once.
Keep prototype and production decisions separate
A working custom PCB is a milestone. Production also needs repeatable assembly, component sourcing and a test approach for each unit or the agreed sampling plan. Product compliance and enclosure testing depend on the finished device and its intended use.
Our JOGO case study shows how those decisions connect: thin electronics, an antenna developed with specialist partners and a dedicated production test fixture. The board was one part of bringing the device into use.
If you have a working breadboard, talk to us about PCB design. If the main function is still unproven, start with rapid prototyping. Our guide to PCB design costs explains what to include when requesting an estimate.
'%3e%3cpath%20d='M0.512578%2012.7977C0.512016%2014.8142%201.04302%2016.7831%202.0527%2018.5185L0.416016%2024.448L6.53152%2022.857C8.22299%2023.7706%2010.1181%2024.2494%2012.044%2024.2495H12.0491C18.4067%2024.2495%2023.582%2019.1162%2023.5847%2012.8067C23.586%209.74933%2022.3871%206.87435%2020.2089%204.71138C18.0311%202.54858%2015.1347%201.35686%2012.0486%201.35547C5.6902%201.35547%200.515297%206.48849%200.512672%2012.7977'%20fill='url(%23paint0_linear_1455_10349)'/%3e%3cpath%20d='M0.100313%2012.7941C0.0996563%2014.8831%200.649687%2016.9224%201.69537%2018.72L0%2024.8621L6.33478%2023.214C8.08022%2024.1582%2010.0454%2024.6561%2012.0451%2024.6568H12.0502C18.636%2024.6568%2023.9972%2019.3389%2024%2012.8035C24.0011%209.63629%2022.7591%206.65796%2020.5031%204.4175C18.2468%202.17731%2015.2468%200.942709%2012.0502%200.941406C5.46337%200.941406%200.102938%206.25862%200.100313%2012.7941ZM3.87291%2018.4104L3.63637%2018.0379C2.64206%2016.4691%202.11725%2014.6563%202.118%2012.7948C2.12006%207.36271%206.57544%202.94327%2012.054%202.94327C14.7071%202.94438%2017.2005%203.97062%2019.0759%205.83257C20.9512%207.69471%2021.9831%2010.1701%2021.9824%2012.8028C21.98%2018.2349%2017.5245%2022.6549%2012.0502%2022.6549H12.0463C10.2638%2022.654%208.51569%2022.179%206.99113%2021.2814L6.62831%2021.0679L2.86912%2022.0459L3.87291%2018.4104Z'%20fill='url(%23paint1_linear_1455_10349)'/%3e%3cpath%20d='M9.06383%207.83911C8.84014%207.34581%208.60473%207.33586%208.39202%207.32721C8.21783%207.31976%208.0187%207.32032%207.81977%207.32032C7.62064%207.32032%207.29711%207.39465%207.02364%207.69093C6.74989%207.98748%205.97852%208.70414%205.97852%2010.1617C5.97852%2011.6193%207.04848%2013.028%207.19764%2013.2259C7.34698%2013.4234%209.26323%2016.5103%2012.2981%2017.6978C14.8204%2018.6847%2015.3336%2018.4884%2015.881%2018.4389C16.4285%2018.3896%2017.6477%2017.7225%2017.8964%2017.0306C18.1453%2016.3389%2018.1453%2015.746%2018.0707%2015.6221C17.996%2015.4986%2017.7969%2015.4245%2017.4983%2015.2764C17.1997%2015.1283%2015.7317%2014.4115%2015.458%2014.3126C15.1843%2014.2138%2014.9853%2014.1645%2014.7861%2014.4612C14.587%2014.7573%2014.0152%2015.4245%2013.841%2015.6221C13.6669%2015.8201%2013.4926%2015.8448%2013.1941%2015.6966C12.8953%2015.5479%2011.9337%2015.2355%2010.7929%2014.2263C9.90523%2013.441%209.30598%2012.4712%209.1318%2012.1746C8.95761%2011.8784%209.11314%2011.7178%209.26286%2011.5702C9.39702%2011.4374%209.56155%2011.2242%209.71098%2011.0513C9.85986%2010.8783%209.90955%2010.7548%2010.0091%2010.5573C10.1088%2010.3595%2010.0589%2010.1865%209.98436%2010.0383C9.90955%209.89009%209.32933%208.42488%209.06383%207.83911Z'%20fill='white'/%3e%3c/g%3e%3cdefs%3e%3clinearGradient%20id='paint0_linear_1455_10349'%20x1='1158.85'%20y1='2310.61'%20x2='1158.85'%20y2='1.35547'%20gradientUnits='userSpaceOnUse'%3e%3cstop%20stop-color='%231FAF38'/%3e%3cstop%20offset='1'%20stop-color='%2360D669'/%3e%3c/linearGradient%3e%3clinearGradient%20id='paint1_linear_1455_10349'%20x1='1200'%20y1='2393.01'%20x2='1200'%20y2='0.941406'%20gradientUnits='userSpaceOnUse'%3e%3cstop%20stop-color='%23F9F9F9'/%3e%3cstop%20offset='1'%20stop-color='white'/%3e%3c/linearGradient%3e%3cclipPath%20id='clip0_1455_10349'%3e%3crect%20width='24'%20height='24'%20fill='white'%20transform='translate(0%200.941406)'/%3e%3c/clipPath%3e%3c/defs%3e%3c/svg%3e)